This description is based on development with Visual Studio as tool
Visual Studio Extension
How to install the Visual Studio 2019 enterprise integration extension
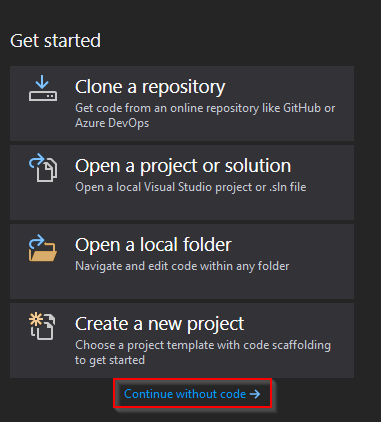
Open Visual Studio 2019. Choose “Continue without code”.
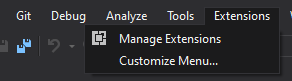
Click ‘Extensions’ and ‘Manage Extensions’
Search for ‘enterprise integration’ in the Visual Studio Marketplace and download this highlighted extension:
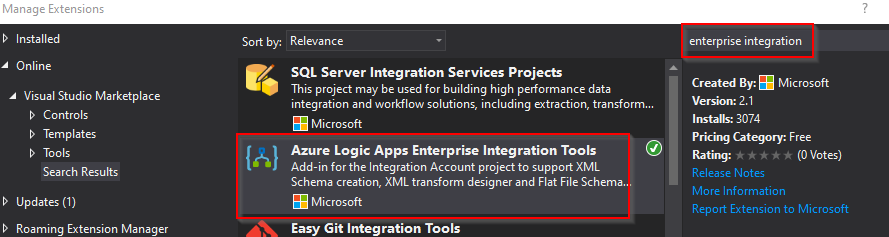
Click ‘Download’ (not shown in the above screenshot), restart Visual Studio and when prompted, click “Modify”

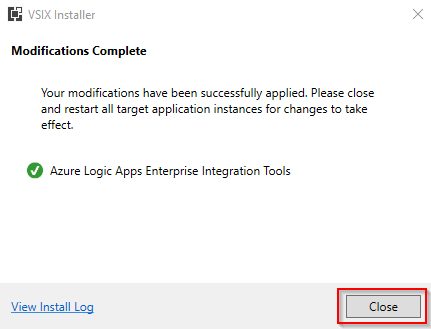
5 Click “Close” in the appearing window:
How to create a local integration Account project in Visual Studio 2019
This example shows how to create a local Integration Account project i.e., without using a code-repository such as Azure DevOps.
Open Visual Studio 2019 and click “Create a new project”
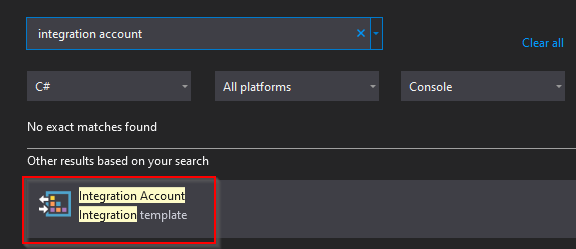
Search for “integration account” and click the appearing project template
You could name the Solution/Project “MySampleEnterpriseIntegration”
How to create an XSD Schema in the project?
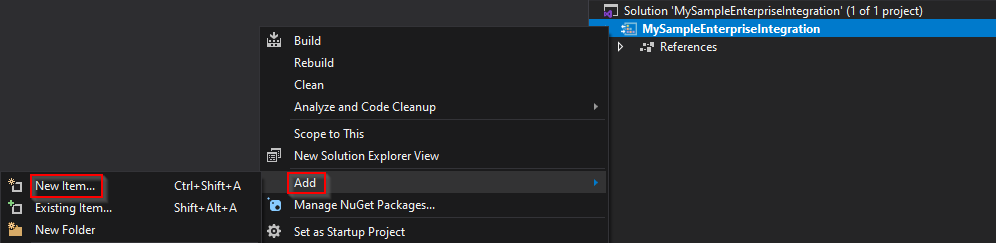
Create an XSD file by right clicking the projectname and choose Add -> New Item
Choose the “XML Schema” type, name the file, and finally click “Add”
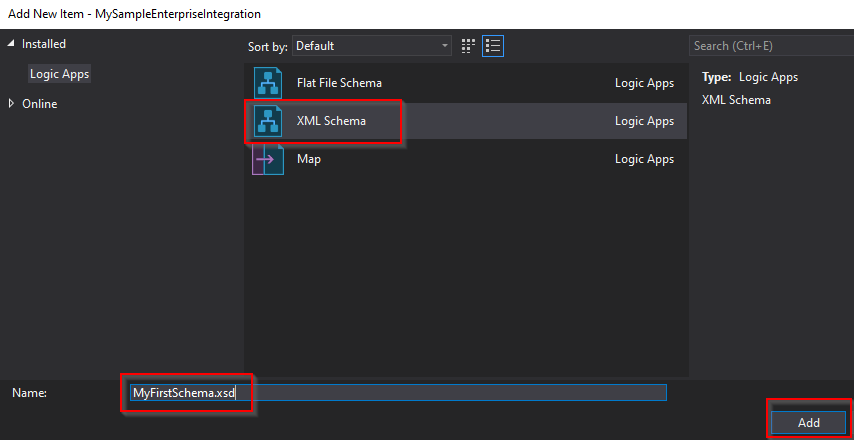
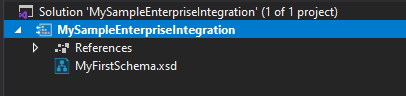
The XSD file is now added to your project
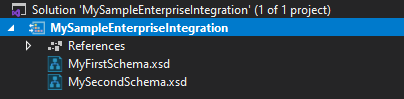
Please create another XSD file in the project and e.g., name it “MySecondSchema.xsd”, as we will shortly make a visual map that connects two XSD files.
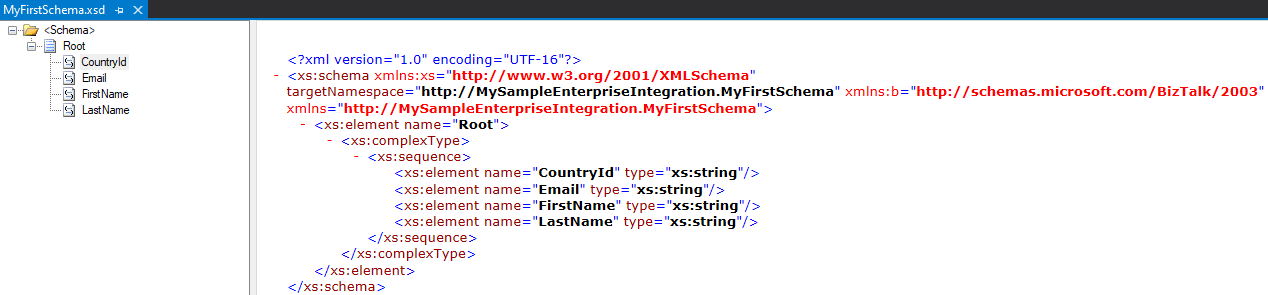
Open the MyFirstSchema.xsd file in Visual Studio and create a simple schema of your own choice, or use the schema below and save your file
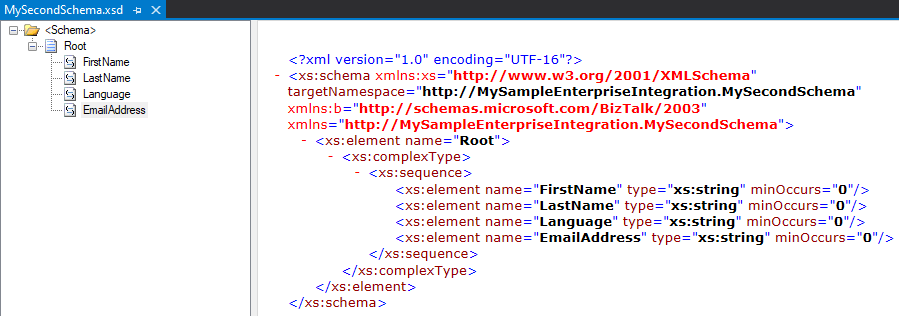
Open the MySecondSchema.xsd file in Visual Studio and create a simple schema of your own choice, or use the schema below and save your file
How to create a visual map in the project?
If you want to create mappings between fields in XSD files, then you must create a map file in the project.
Create a map file by right clicking the projectname and choose Add -> New Item

Choose the “Map” type, name the file, and finally click “Add”
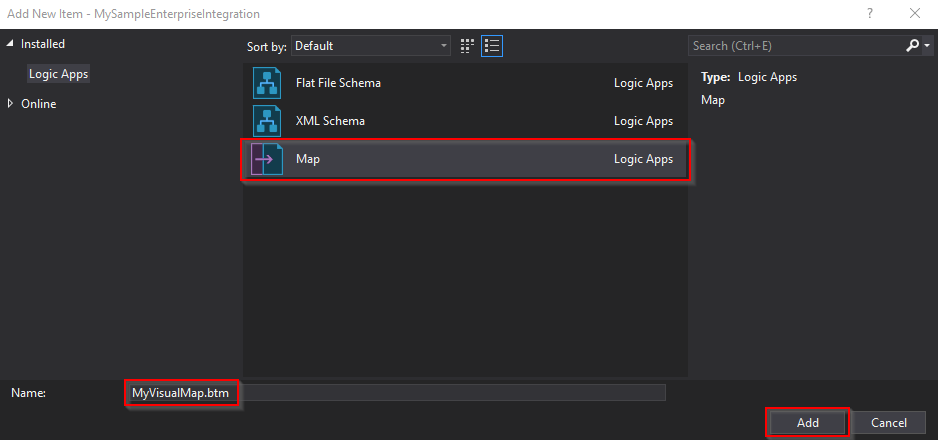
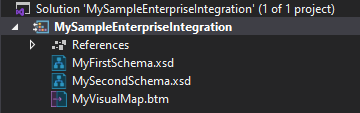
The map file is now added to your project
How to map fields in the visual mapper
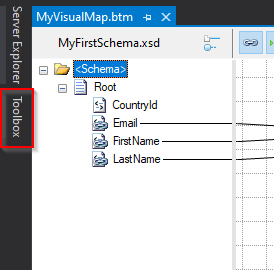
If you want to map fields using the visual mapper (.btm), then you must open the file in Visual Studio
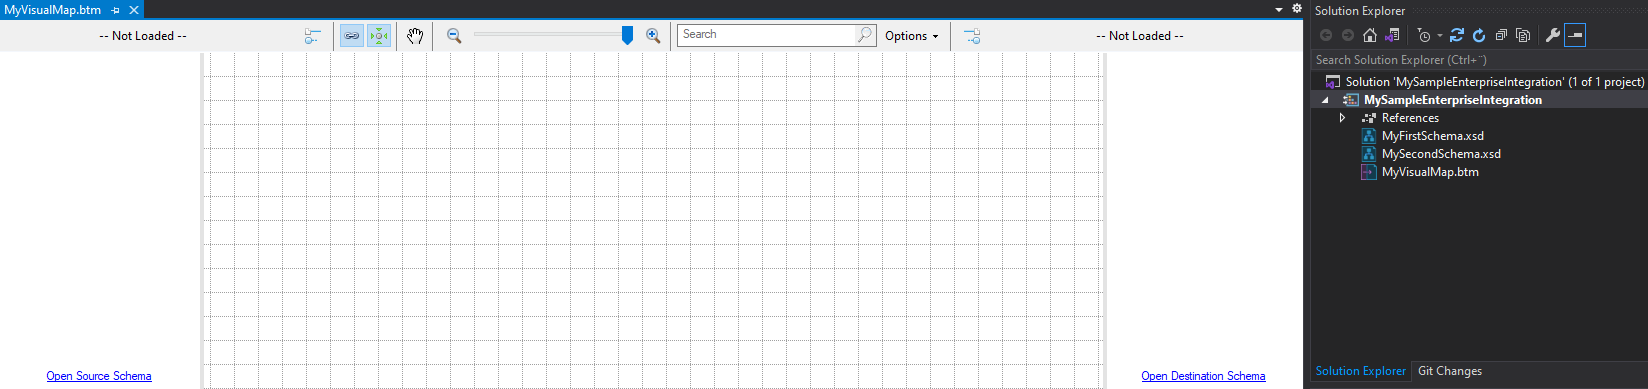
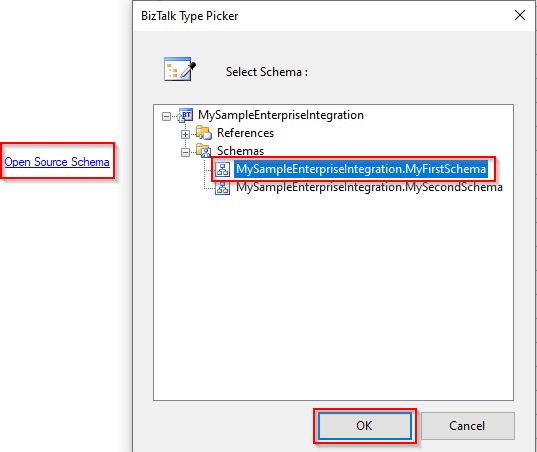
Click the “Open Source Schema” link to instruct the visual map what source XSD schema to use. Click “OK” to proceed.
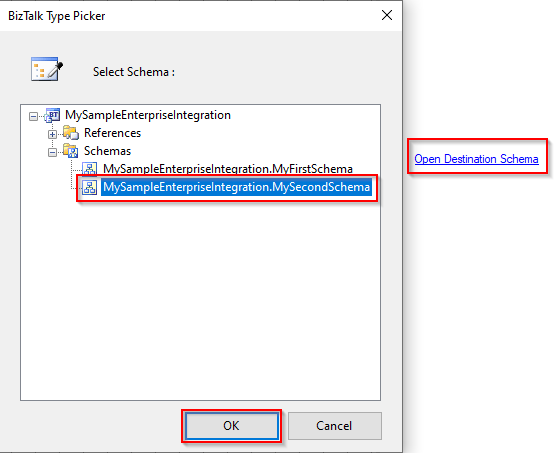
Click the “Open Destination Schema” link to instruct the visual map what target XSD schema to use. Click “OK” to proceed.
Draw some connections from the source schema to the destination schema

How to get the XSLT corresponding to the visual map
Getting the XSLT is just a matter of right clicking the project name and choose “Build”

The XSLT file is located on the default Build location.
Example:
C:\Users\[user]\source\repos\MySampleEnterpriseIntegration\bin\Debug

How to get the XSLT corresponding to the visual map
Getting the XSLT is just a matter of right clicking the project name and choose “Build”

The XSLT file is located on the default Build location.
Example:
C:\Users\[user]\source\repos\MySampleEnterpriseIntegration\bin\Debug

How to get the XSD files
You will not find XSD files in the same location as the XSLT file that gets generated via Build.
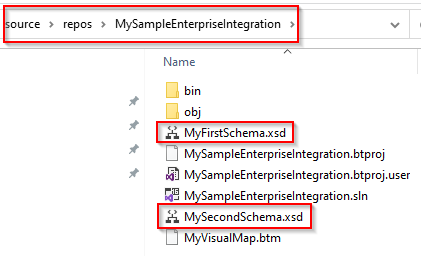
Should you have the need to find the XSD files outside the Visual Studio project, then you must locate the sourcecode folder in the file system
Example:
C:\Users\[user]\source\repos\MySampleEnterpriseIntegration
How to get an instance/sample file based on the source XSD schema
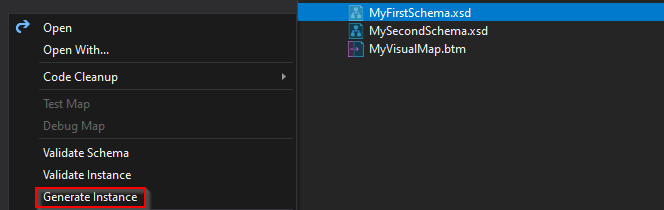
When you right click a .xsd file in the Visual Studio project, then you get three options of interest, but we will only focus on one option now.
To get an instance/sample file generated based on your source XSD schema, then choose “Generate Instance”
-
The generated instance will be stored in the location written in Properties -> Output Instance Filename. For instance, C:\Users\[user]\AppData\Local\Temp\myfirstschemainstance.xml
-
Note down that location or copy the file to your desired location
-
Open the file in your desired texteditor. You will see generated default values.
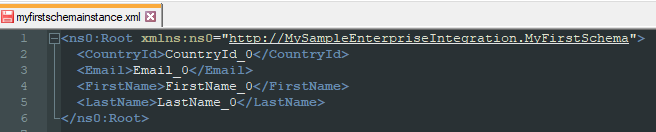
Change those default values into values of your own choice and save the file
How to test an input file in the visual map (.btm)
To test your visual map by providing an input file, follow these steps:
-
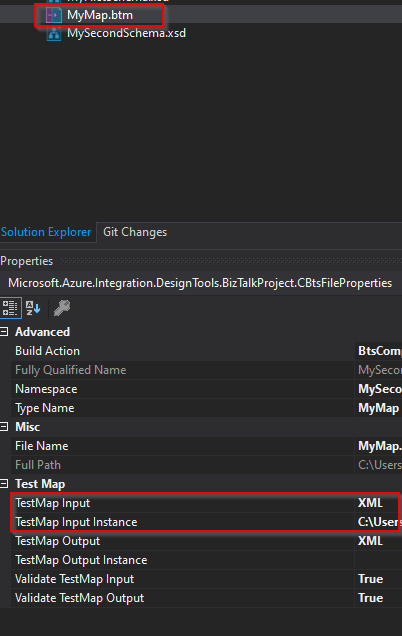
Click once on the .btm file in the Visual Studio project
-
Locate Properties -> Test Map
-
Specify that the inputfile is an XML file
-
In Properties -> TestMap Input Instance you must point to the location where your actual XML inputfile is located
-
Now right click the .btm file in the Visual Studio project and choose Test Map

-
To locate the generated output file, you must look in the “Output” window.
-
Look for the location specified right after this sentence “The output is stored in the following file: <your file location is here>”
-
Open that file in your desired texteditor. You should see something like this.

How to use basic Functoids in the visual map
If you want to use Functoids in your visual map, then follow these steps:
-
Double click your .btm file in the Visual Studio project
-
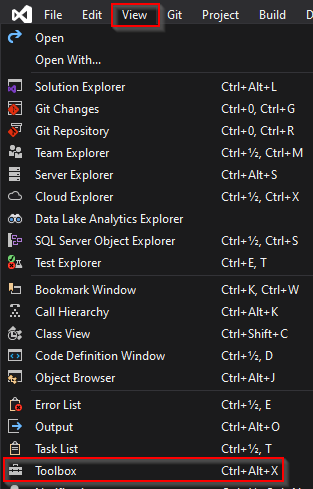
The “Toolbox” pane contains the available Functoids
If you do not see the “Toolbox” pane, simply click “View” in the navigation toolbar and then Toolbox
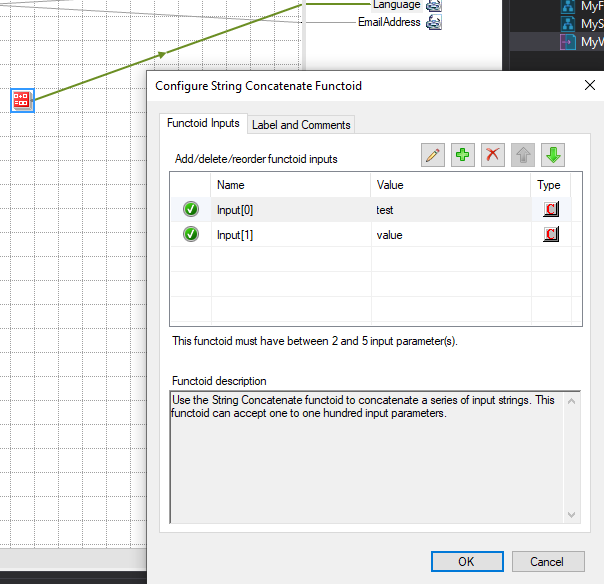
Drag a Functoid onto the map-canvas and configure your Functoid
-
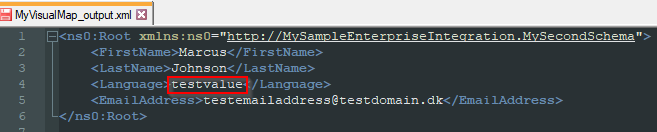
Test the mapping functionality by right clicking the .btm filename and choose Test Map (requires that you have configured Properties -> Test Map)
-
The result of the Functoid should be reflected in the generated output file
Right click the project and click Build

If you inspect the generated XSLT file, you will see that required namespaces have automatically been added and that the Functoid code has become inline C# code:
How to work directly with XSLT (no visual map)
If you do not want to work with visual maps, then you can apply the method explained below.
You must still create a .btm (visual map) file in your project and you must still specify which source and destination XSD schemas to use in the transformation. Drag a connection from a source schema element to a destination schema element

-
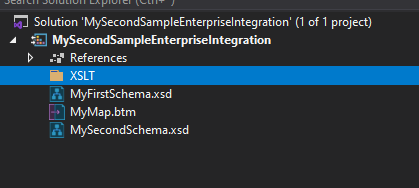
Right click “MySecondSampleEnterpriseIntegration” and choose “Build”
-
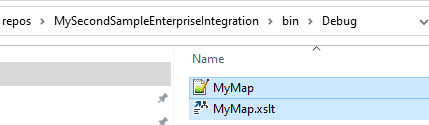
Check that an XSLT file has been generated. It could be located here C:\Users\[user]\source\repos\MySecondSampleEnterpriseIntegration\bin\Debug
-
Go back to Visual Studio
-
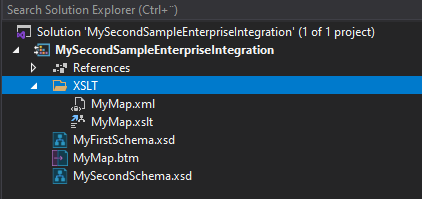
Create a folder in the Visual Studio project and e.g., name it “XSLT”
Using a Windows Explorer, go to the location from step 3 above. Copy the two files.
-
Go back to Visual Studio
-
Paste the two files into the XSLT folder you created in the Visual Studio project
-
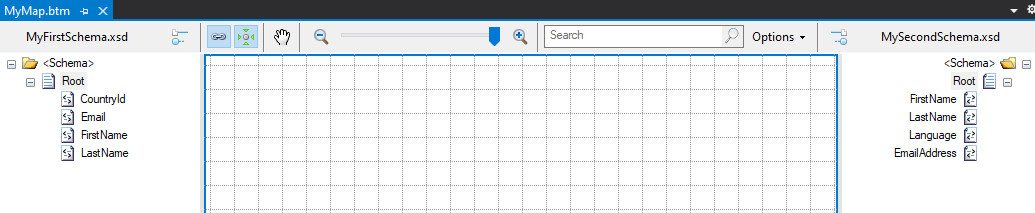
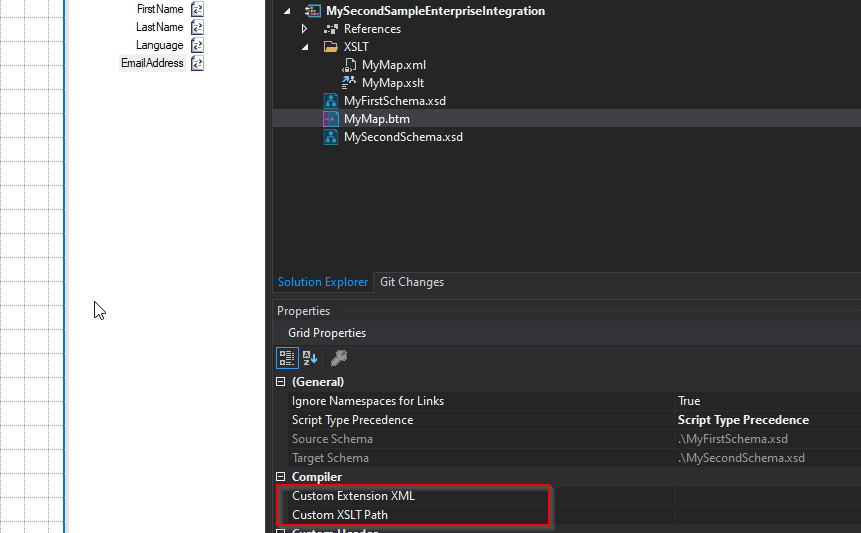
Click “MyMap.btm” in the Solution Explorer so that the visual map opens in the canvas.
-
Remove the connection you made between source and destination elements.
-
Ensure that the canvas gets/has a blue outline
Now you can see/set grid properties and the interesting ones are “Custom Extension XML” and “Custom XSLT Path”
-
These properties are file locations.
-
Click the dots

-
Choose the .xml file in the XSLT folder in the project.
-
Click the dots

-
Choose the .xslt file in the XSLT folder in the project (remember to select ‘All files’)
Now we have instructed the map to use the XSLT file.
To test that the transformation is working, then provide an inputfile
-
To perform the transformation, right click the .btm file and select “Test Map”
-
The Output window in Visual Studio will tell where the generated file is located.
Please note:
When you choose to work solely with the XSLT file, then you only build the project initially to get the files needed (.xml and .xslt) to override the visual map.
When working solely with the XSLT file, then you can add the file(s) to the project and not have to use Build to get a new version of the XSLT, as you would when only working with the visual mapper.
How to use UserCsharp when you do not use the visual mapper
If you have chosen not to use the visual mapper, and only work directly with XSLT, then you still have the option to use inline C# to build custom logic.
However, you must add a namespace in the XSLT file, and you must add a CDATA area in the XSLT.
-
Open the .xslt file where you want to enable the option of using inline C#
-
Add this namespace xmlns:userCSharp="http://schemas.microsoft.com/BizTalk/2003/userCSharp">

Write some function that returns a value, such as:
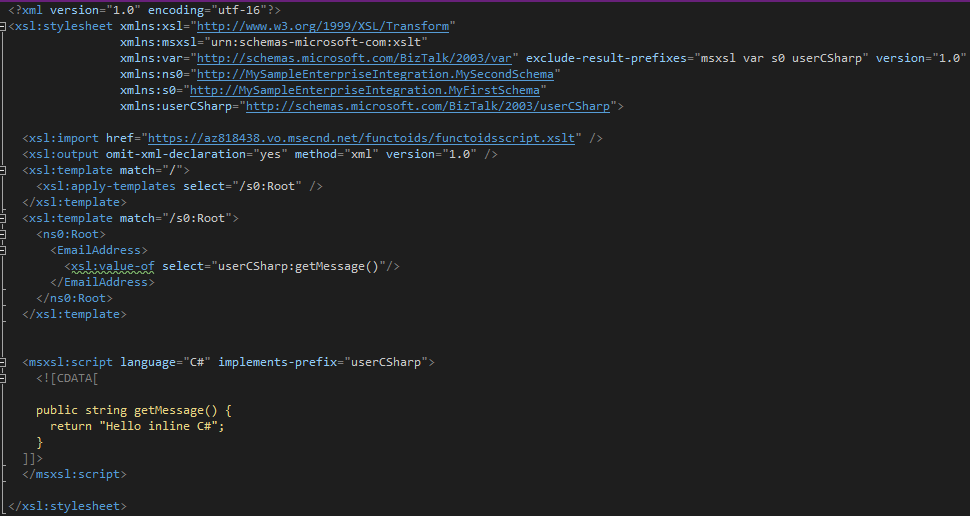
Notice that the <xsl:value-of select=”userCSharp:getMessage()”/> gets underlined. When hovering that line, the following error is displayed:
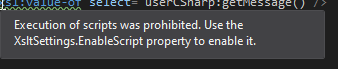
Ignore the error message. It has no functional influence when you right click your .btm file and select “Test map”. An output will get generated and the return value from the method call will be inserted in the generated file.

Link Functoids
To set up a custom functoid you must place the functoid .dll file in this location (Visual Studio 2019 Community), if not done so already in the environment you work in. If you need to set it up yourself, then you must get hold of the required .dll file from Bizbrains.
Please note. You are likely to have to create the folders Developer Tools > Mapper Extensions yourself.
C:\Program Files (x86)\Microsoft Visual Studio\2019\Community\Common7\IDE\Extensions\Developer Tools\Mapper Extensions
-
Copy the functoid .dll file to the Mapper Extensions folder.
-
Start Visual Studio 2019 Community and load a project that is based on the Integration Account Visual Studio template.
-
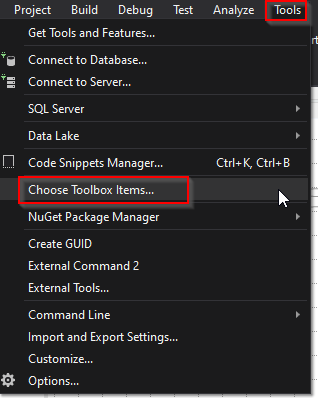
Click on Tools > Choose Toolbox Items…
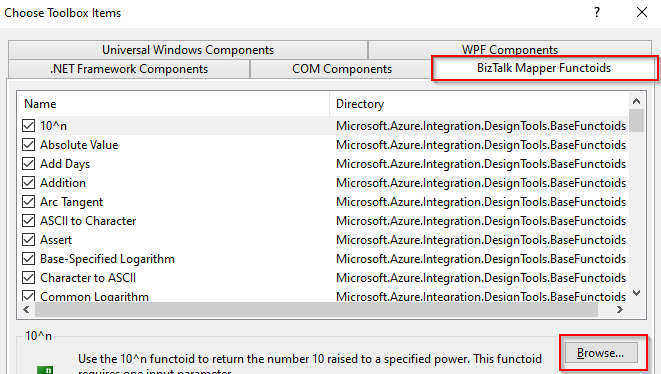
Select the “Biztalk Mapper Functoids” tab and click the “Browse” button:
Navigate to the Mapper Extensions folder:
C:\Program Files (x86)\Microsoft Visual Studio\2019\Community\Common7\IDE\Extensions\Developer Tools\Mapper Extensions
Double click the name of the custom functoid .dll file and verify that you can see names starting with “Link”.

-
Set checkmarks for every “Link”-functoid and click “OK”.
-
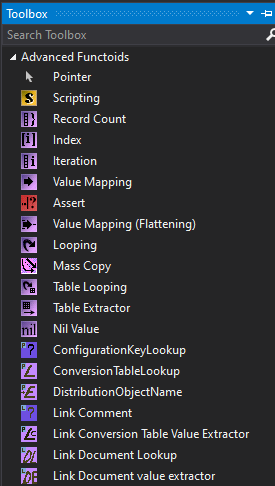
Double click a .btm file in your Visual Studio project, and then click the leftpane “Toolbox” and you should now see the “Link” functoids and their associated description.
-
Now try and drag and drop “DistributionObjectName” into the map canvas and drag a connection from it to a target element.
-
Right click your project of type “Integration Account” and choose Build/Rebuild.
-
Go to the bin/Debug folder and verify that an XSLT file has been created. Try opening the file in e.g., Notepad++
-
The XSLT file contains code that is inserted by the custom functoid. That code will be executed in a runtime scenario, where data from Link will be retrieved and inserted as part of the actual data transformation.
<xsl:variable name="var:v1" select="ScriptNS0:GetDocumentDistributionObjectName()" />
Unit test
There are a couple of activities associated with unit testing an XSLT, and below we will describe the necessary steps to set it up.
At a glance, you must download and install a special Visual Studio project that Bizbrains has prepared. Next, you must install a Nuget package which will make it possible to communicate with Link’s Rest API.
Testing a map with or without querying Link
Local testing is possible without setting up a unit test project. I.e., you can test a mapping that does not query data from Link using Test Map facility, which we will not describe here.
However, if your transformation map needs to query data from Link, then you must set up the unit test project as described in the following paragraphs. I.e., if your map e.g., must extract values from a given Conversion Table registered on a given Partner in Link, then you will only be able to test it locally using the unit test project.
Assumption:
it is expected that you have created an integration account project and want to add a unit test project to the solution.
Download Visual Studio project template and install Nuget package
-
Download the Visual Studio project template below. At the moment of writing, you can download the project template as a .zip package from this location: https://bizbrains.atlassian.net/wiki/spaces/PT/pages/2386493483/Visual+Studio+XSLT+Developer+Project+Template
-
Follow the instructions from the same Wiki page.
-
Do not proceed if you are not able to see the installed project template in Visual Studio.
-
Now you must right-click your solution (.sln) in the Visual Studio Solution Explorer and choose Add > New Project…
-
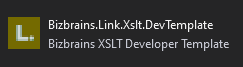
Search for “Bizbrains” or scroll to the bottom to locate this project template:
-
Select that template and click ‘Next’.
-
Name the project e.g., “Map unit test” and click ‘Create’
-
Open the Package Manage Console in Visual Studio and install the Link Rest API proxy. Instructions are found here:
https://www.nuget.org/packages/Bizbrains.Link.RestApi.Proxy/
-
Open Tools > Options and search for ‘just’ in the Search Options field.
-
Ensure that this checkbox is not checked

Predefined C# methods for testing
Assumption: you have created a unit test project based on the Bizbrains Visual Studio project template.
-
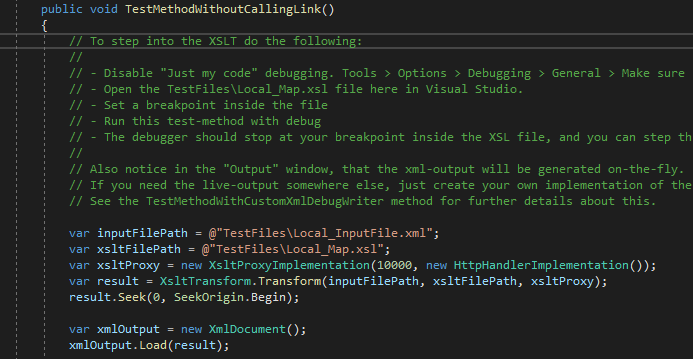
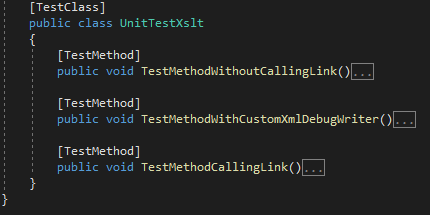
The primary class file to look into is called “UnitTestXslt.cs”. Open that file.
-
Three test methods are provided, and each method must be configured. When folded out, comments in the code will describe how to use it. You must change the method’s code to point to the actual path + filename of an inputfile and also provide path + filename for the XSL file that should transform the inputfile.
Example:
-
The method “TestMethodCallingLink” requires special configuration, and you must consult Bizbrains Operations to get this information.
-
To execute a method, simply right click it and choose either “Run Test(s)” or “Debug Test(s)”. Before running “Debug Test(s)” you should put in breakpoints in the XSL file that transforms the data, as it enables you to step through the execution.
-
You put in Assert statements in the bottom of the test method you are planning on executing. The expression that you write could conceptually look like this, where the value ‘Testing123’ is tested for equality against the value contained in the provided Xpath expression:
Assert.AreEqual(xmlOutput.SelectSingleNode("//SomeXpath/someElement").InnerText, "Testing123");