In Link it is possible to grant specific user roles and permissions to the different users of the platform. Some users need to have access to everything, while others only need to be able to perform specific tasks.
This documentation describes the various concepts centered around users, roles and permissions, in order to grant the right accesses to the users of the platform.
The tasks related to users, roles and permissions must be carried out directly in the Link GUI in a webbrowser for the desired environment (Dev, Test, Prod). You must be logged on to the correct environment before you perform the tasks.
User roles
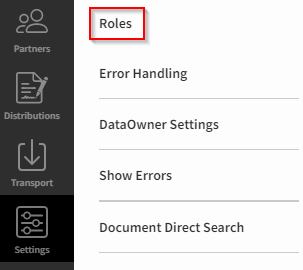
To manage user roles in Link you must access the Settings menu and choose “Roles”.
A role is a logically named entity that further contains permissions to specific Link functionalities.
As an example, a “Developer” role could contain permissions to the following Link functionalities:
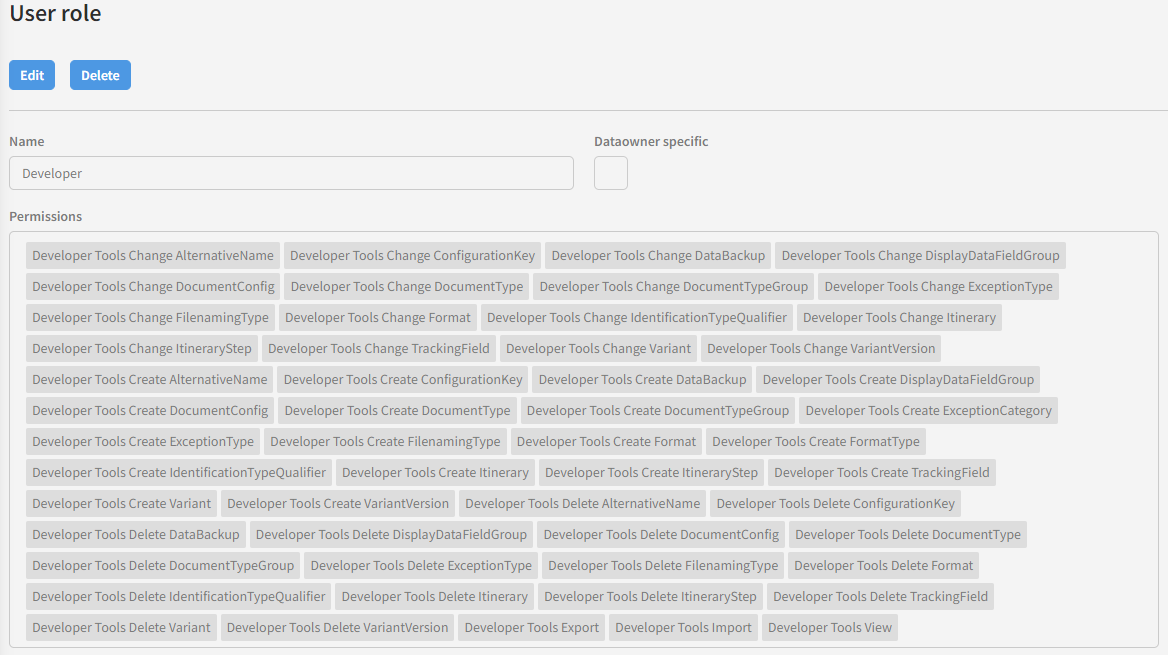
There are many built-in roles in Link, but you can easily create new ones based on your exact needs. You also do this in the “Roles” part of the Settings menu.
You do not directly assign a role to a user. You create a User Group that contains the various roles that are relevant for your use case and then the User Group is assigned to a user, which will be described later.
User Groups
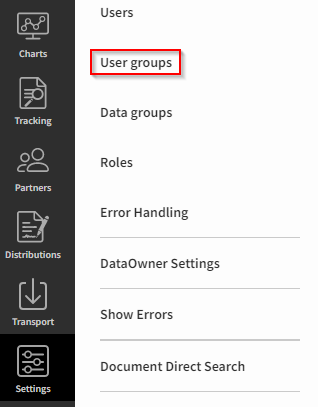
To manage User Groups in Link you must access the Settings menu and choose “User groups”.
The concept of a user group is that it is a logically named entity that further contains roles, which are located under “Roles”.
As an example, a “Viewer” user group could contain the following defined roles:

A user group is ultimately assigned to a given user under “Users”, to grant access to the desired functionalities in the specific Link environment. Please note that multiple user groups can be assigned to a given user.
Users
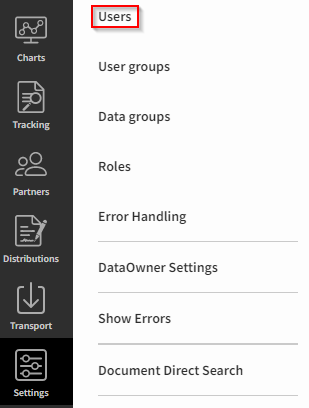
To manage users in Link you must access the Settings menu and choose “Users”.
A user is a person that can log on to Link in the chosen environment, and who can then perform tasks for which the person has been granted access, using the combination of roles (and permissions) and user groups explained in the paragraphs above.
If you create a new user you will be presented with the following fields, where the most commonly used will be explained.
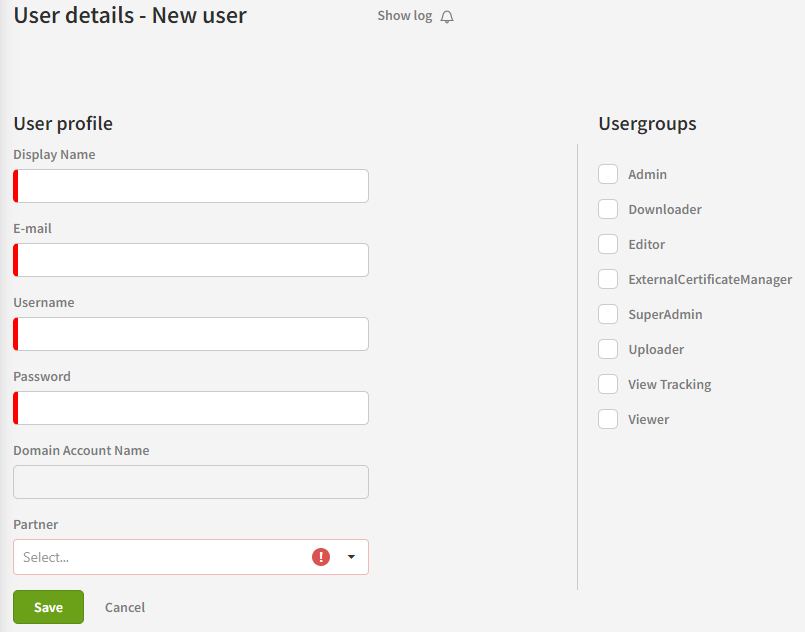
A Link user must have a display name, an e-mail address, a username, and a password. Otherwise, the person will not be able to log on to the Link environment. You must decide which user groups that must be assigned to the user. This is done simply by ticking the relevant boxes.
When you click “Save” you will be presented with the option of enabling Multi Factor Authentication (MFA) for that person. MFA is an extra layer of security, which is part of the security policy of many companies and is supported by Link. With MFA enabled, the user must specify not only username and password, but also an additional code to get access to the specific Link environment.
If you need to differentiate which data the users have access to in Link, see Managing data groups in Link