Prerequisites for Datagroups
Before datagroups will have any effect, there are some dataowner-keys that should be configured:
See Dataowner Settings and find the following keys: DataAccessRestrictionMode and DataGroupRequiredForPartner.
(Dataowner-keys,UseDataAccessRestriction + UseDataAccessRestrictionPartnerStrict, are deprecated from version 2.5, so don't use them)
Datagroups
Datagroups are used for enforcing security restrictions on data in the system like partners, document types, distributions and tracking documents.
By defining data groups you can distinguish which part of your data certain users have access to.
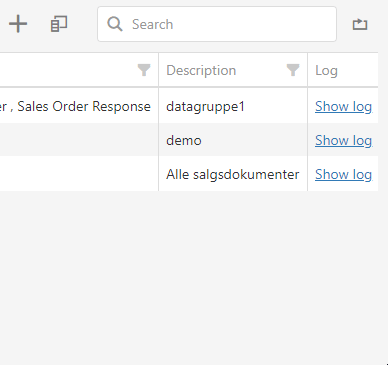
Data Handling [1]

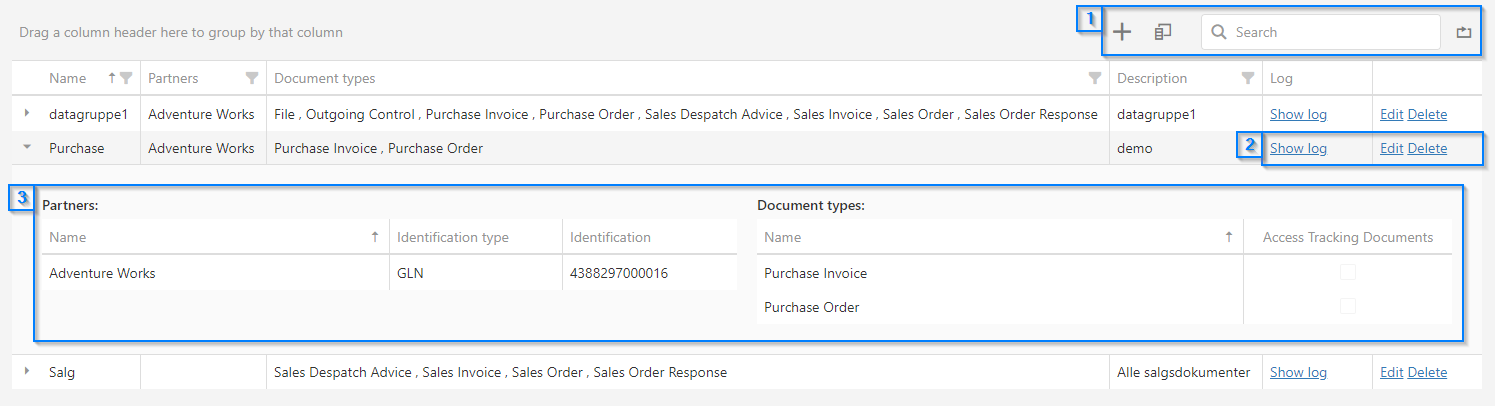
These options allow you to create a new data groups and perform actions on the entire data grid.
Create new data group
Click the '+' shaped button to start creating a new data group. You will be taken to a new page, where you can input the partners and document types that should be attached to the data group.
The page is split into two sections: Partners and document types.
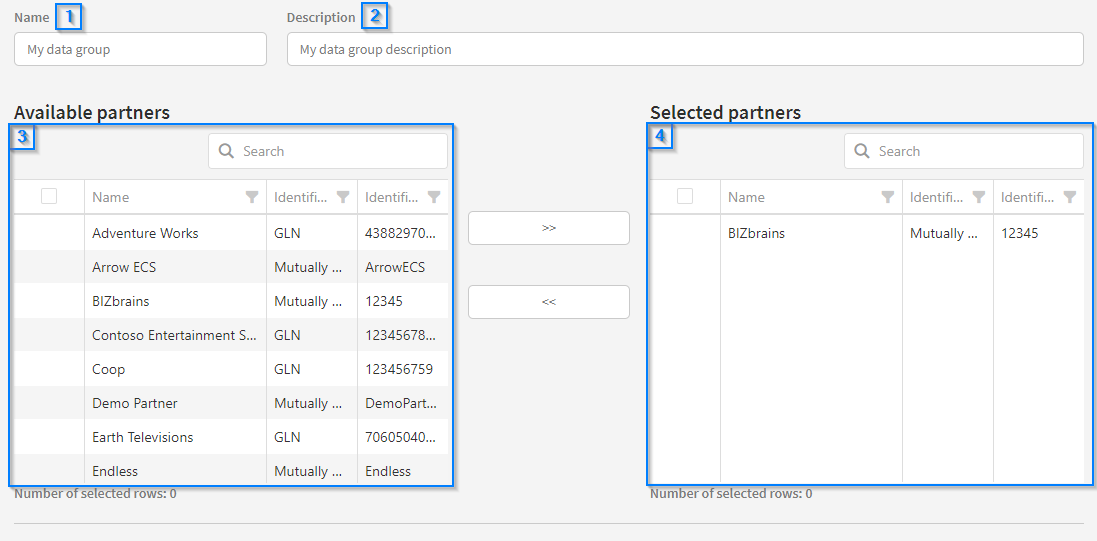
The first part of the section contains fields for entering in the name [1] and description [2] of the data group. Below that you can choose which partners should be associated with the data group.
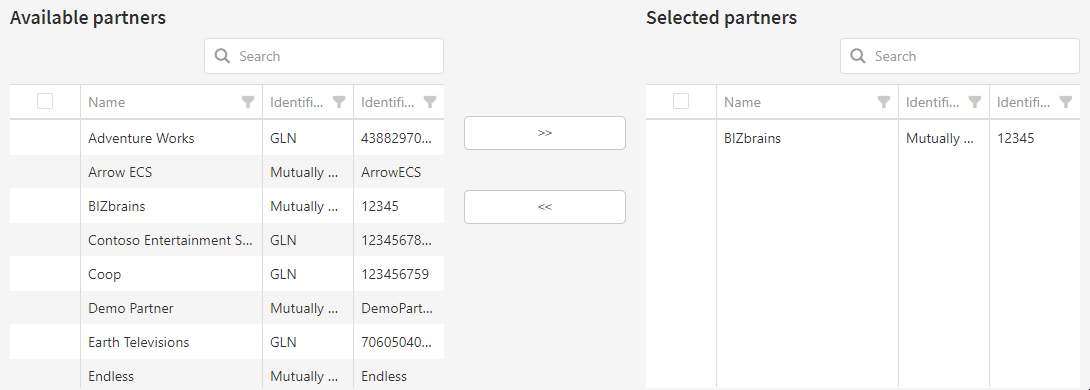
In the available partners list [3], select the partners you want to associate and click the '>>' button to confirm. The partners should now appear in the Selected partners list [4]. See the animation below for reference.
The second part of the page allow you to associate available document types in your Link solution to the data group. Selecting and adding document types works the same way as with adding partners.
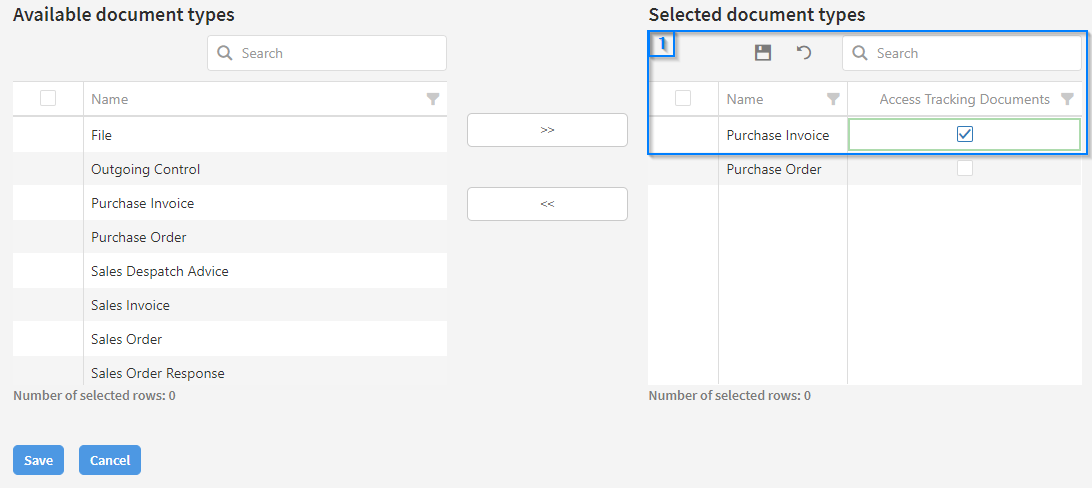
In the example above, only the document types regarding Purchases are being associated. Note: In the Selected document types list [1] there is a column allowing you to set whether the user should be allowed to access tracking documents for the specific document type. This is off by default. Tick the checkbox to allow document tracking. Press the diskette icon right above the list to save your changes. Press the undo arrow to discard the changes.
When you are done adding partners and document types to the data group, press the 'Save' button at the bottom of the page. Press 'Cancel' to abort and return to the data group list.
Column Chooser
This option makes it possible to customize which columns should be displayed in the data grid. Some columns are selected by default. When selecting it, you will be presented with a small window that contains all the columns that are not currently in use.
You can scroll while hovering your mouse over window box to see additional columns. To insert a new column you must drag it from the window to to the data grid. A blue line will appear when dragging, which means the column will be placed between the two columns. You can drag any column back to the window in the same manner. See the animation below for further reference.
Search
The search box will perform its search on the entire data grid and will exclude the rows that do not match the search dynamically. Press the 'x' next to the search term to reset the search.
Reset
Clicking this will reset the state of the grid to the default state. This means that all current sorting, grouping, filtering etc. will be reset. If you have placed or removed any columns via the column chooser, these will be reset as well. Any currently selected rows will be deselected.
Data Group Functions [2]
In the rightmost column of the data grid you can find the data group functions. If you don't see these options you may need to scroll horizontally. They will be explained in detail below.
Show log
Click this to open a new window containing a trace of all actions that have occurred on the data group, such as adding new partners and document types. See the 'Show Log' page in this user guide for more details.
Edit
To edit a data group click here. You will be taken to a new page, allowing you to remove and add new partners and document types. The layout of the page is similar to when creating a new data group. See the section 'Create new data group' on this page to learn more. When you are done with editing, press 'Save' to confirm your changes, or press 'Cancel' to abort and return to the data groups list.
Delete
Click here to delete the data group. A prompt asking you to confirm your choice will appear. Note that deleting a data group is irreversible.
Expand data group [3]
By clicking the arrow left of the data group name, you can expand it to get a better overview of the partners and document types associated with the data group. Press the arrow again to retract.

How to bypass datagroups
From Link 2.8 a new permission is introduced: BypassDataGroups and a new role: Bypass Data Group Restrictions.
If any users should be able to bypass the restrictions setup by DataGroups, these users should be members of a UserGroup that have this role included.
Content on this page: