New Alert
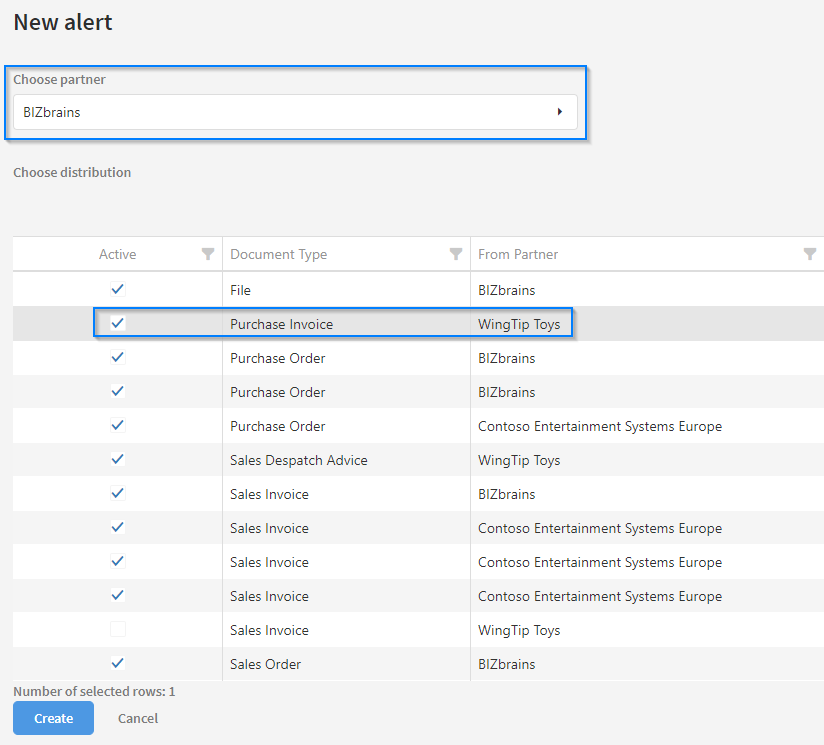
On this page you can create new alerts on your distributions. Before being presented with the details regarding your new alert, you will have to choose a partner and a distribution associated with that partner. In the screenshot below, we have chosen the BIZbrains partner and selected a Purchase Invoice distribution with WingTip Toys as the From Partner. Press the 'Create' button on the lower left corner when you are happy with your choice. Press 'Cancel' to abort. Note that you may only select a single distribution.
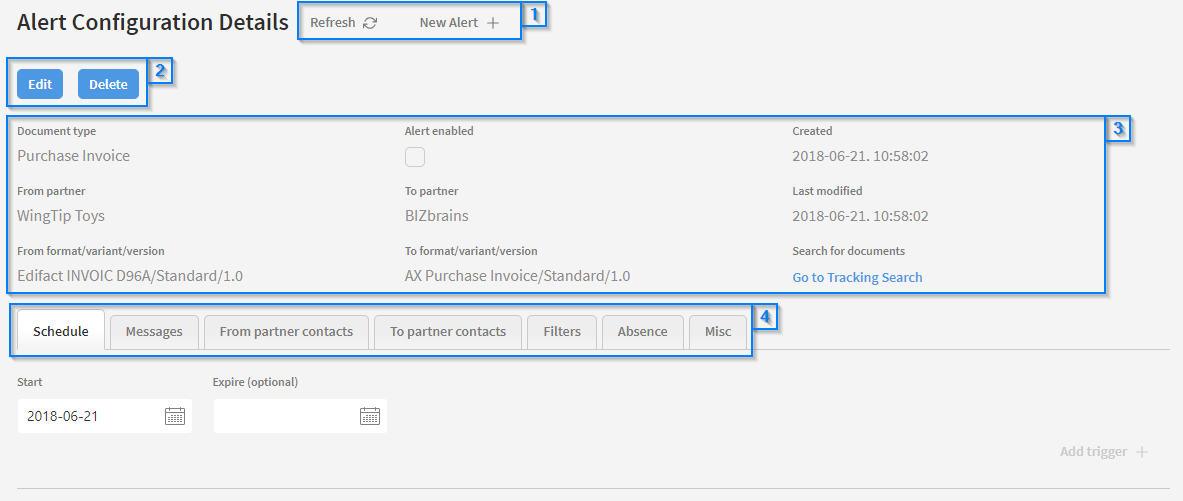
After having pressed 'Create' you will be presented with a new page, allowing you to further configure your alert. Each element on the page will be described in detail below. The tabs [4] in the lower part of the page will be described in their own sections.
Header Buttons [1]
Refresh
Click this to refresh any information that might have changed, such as partner contacts and distribution details.
New Alert
Click this to return to the previous page and select a new partner and distribution.
Action Buttons [2]
Edit
Press this to allow editing of the alert configuration details. By default the fields are locked. This will open up editing of fields in all tabs. Click 'Save' when you are done editing, or press 'Cancel' to abort and cancel your changes. The 'Delete' button will be locked while you are in editing mode.
Delete
Click here to delete the currently opened alert. A prompt will appear, asking you whether you want to delete the alert.
Alert Details [3]
In this section you get a quick overview of the alert and the associated distribution. Each field will be described below.
Document Type
The document type of the distribution will be shown here. In the example above, the alert is being created for a Purchase Invoice.
From/To Partner
The partners involved in the distribution will be shown here.
From/To Format
The formats involved in the distribution, as well as their variant and version, will be shown here.
Alert enabled
Remember to tick this checkbox to enable the alert. The alert will not be active until it has been enabled.
Created
The date and time the alert was created.
Last modified
The date and time the alert was last modified by a user.
Search for documents
Click this link to be redirected to a page showing you all the documents that have been sent through the distribution.
Note: Hold down CTRL when clicking this link to open it in a new window. That way you will not risk losing any changes made to the alert.
Configuration Tabs [4]
Click each tab to open a set of configuration options. By default the Schedule tab will be open. To edit the fields in a tab, make sure to press the 'Edit' button first. Each tab will be explained in detail below.
Schedule
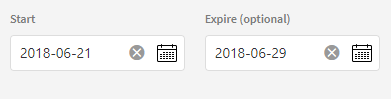
From this tab you can schedule when the alert should start to be active. Optionally you can also define an expire date, on which the alert will be disabled.
In the right corner of the tab, there is an 'Add trigger' option. Press this to further define when the alert should be allowed to trigger. Here you can select the days of the week, as well as the time interval the alert should trigger. See the animation below for reference.
Messages
This tab allows you to define the messages that should be sent out to the contacts when the alert triggers. There is a section for mails and SMS messages, as well as internal messages.
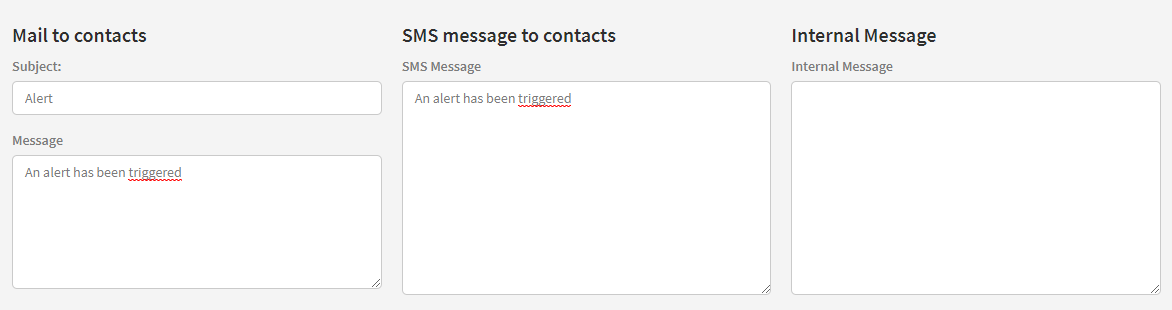
Write your message in the appropriate fields. Skip the fields which are not relevant.
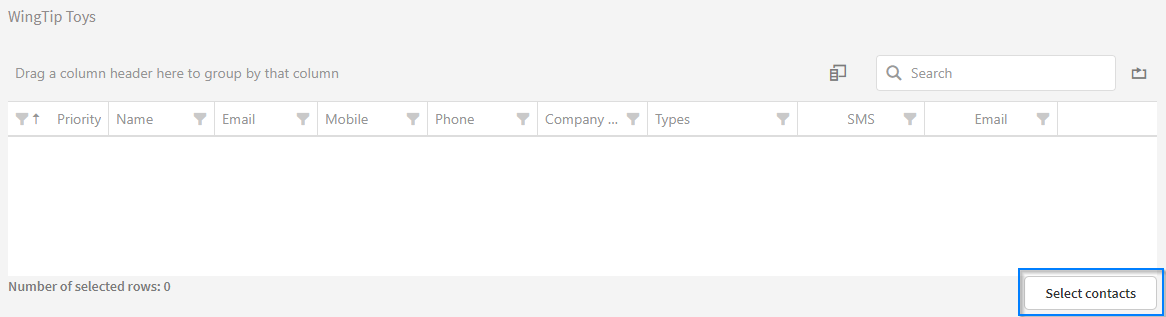
From/To partner contacts
From here you can add any contacts registered on the From/To parner, in this case WingTip Toys and BIZbrains. At first the data grid will be empty, as there are no contacts added to the alert. Press the 'Select contacts' button in the lower right of the data grid to start selecting contacts.
A new data grid will be displayed, showing you all the contacts that are registered on the partner. To select a contact, tick the checkbox in the leftmost column for each contact you want to add. Here we are adding a single contact to the alert. Press 'Ok' when you are done to return to the previous data grid. The contact should now appear on the partner contacts page.

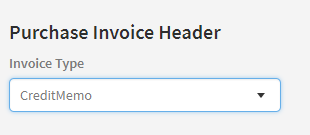
Filters
In this tab you can choose to filter on certain characteristics of the document, such as Invoice Type, if such has been configured. In this example, we choose to filter the alert to only target Credit Memos. The settings available here will vary depending on the document type and its tracking fields.
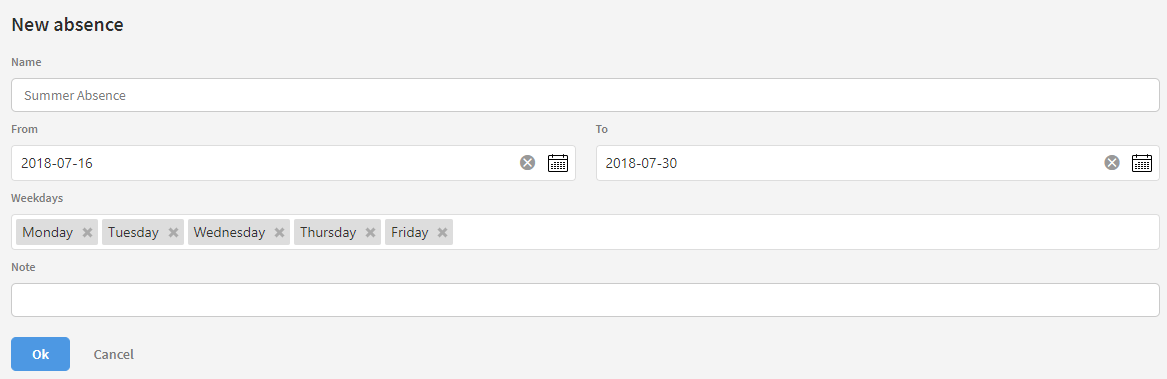
Absence
Here you can configure absence intervals, meaning durations of time where there are no people is available to handle the alert. Any created Absences will be shown in a data grid. Press the 'Edit' button to reconfigure an already existing absence. Press 'Delete' to remove the absence. No confirmation prompt will be shown.

Press the 'Create Absence' button to configure a new Absence. A new page will be shown, allowing you to enter in the name and duration of the absence. Press 'Ok' when you are done to add it to the Absence tab. Press 'Cancel' to abort and return to the absence data grid.
Misc
In the miscellaneous tab you can select the required number of documents that should arrive to make the alert not to be triggered. You are also able to select the time that should elapse before showing the alert. In the example below, we have chosen to demand 10 documents to arrive. If there is 9 or fewer documents arrived, the alert is triggered 15 minutes later.

Content on this page: