Alert status
The Alert status page shows you a data grid containing all alerts that have been set up on your distributions.

Each row in the grid represents an individual distribution with a configured alert. You can go to the relevant Distribution detail page by double-clicking a row in the grid - in the Alert configuration section, you can find more information about the individual alert properties.
You can find a description of the individual alert-related columns in the grid and the action buttons below.
Columns
Alert enabled
This checkbox shows if the alert is enabled or not.
Last activity
Shows when a document related to this distribution was last processed.
Last Alert Notification
Shows when (if any) an alert notification was last sent.
Alert status
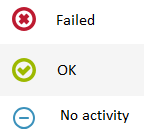
Shows current status of the alert. By hovering the mouse over the status icon, an explanatory text will be shown.

If an alert has been triggered (i.e. there was no activity within a configured timeframe), the status will go to ‘Failed’. Status will be set to ‘OK’, if there has been activity or if the user cancels the alert via the action button.
Notifications
This columns shows the configuration of notifications of the individual alert.
Alert history
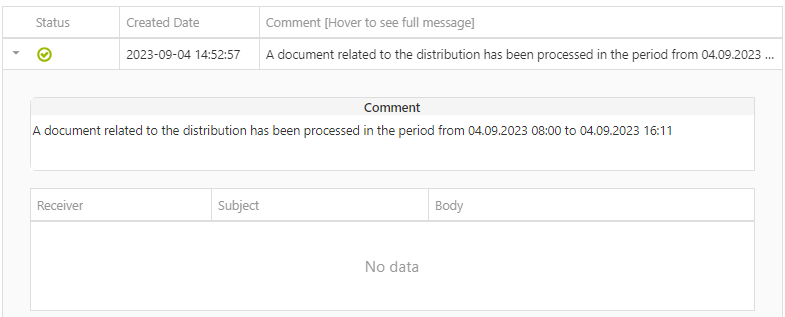
If you click ‘Alert history’ you will be presented with the history related to an individual alert.

If you click the arrow next to the status icon, you can see further details - including information about sent notifications.

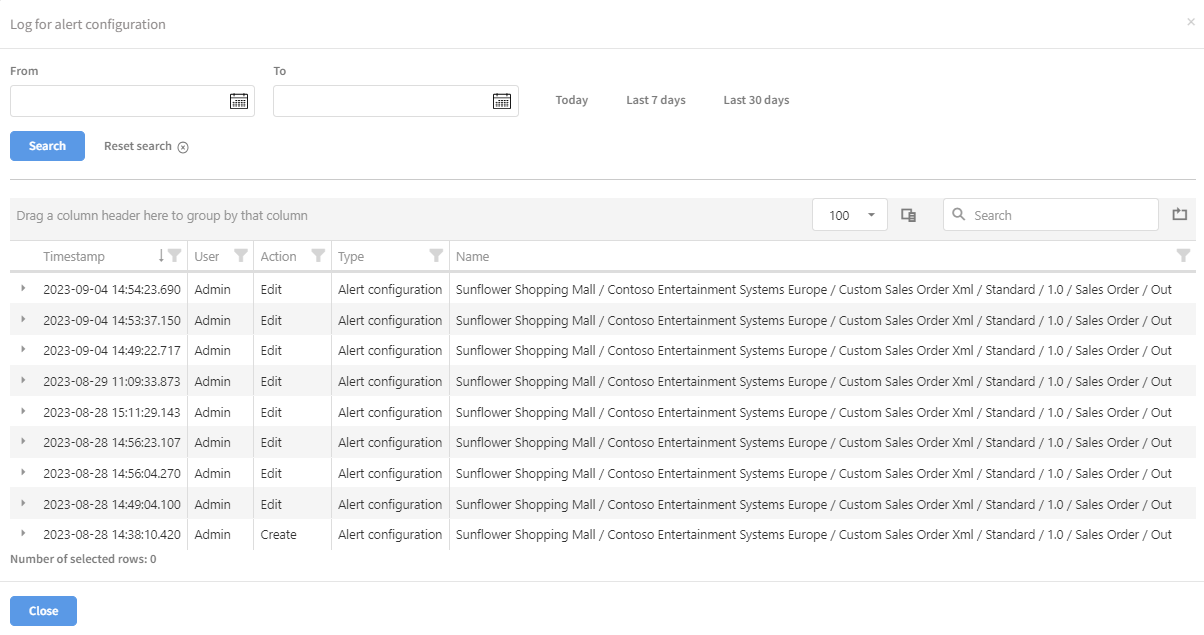
Show log
This gives you an audit-trail related to the individual alert configuration.

Action buttons
Enable alerts
This button gives you the possibility to enable all selected alerts in one go.
Disable alerts
This button gives you the possibility to disable all selected alerts in one go.
Cancel alerts
With this button you can cancel selected alerts for the rest of the day - meaning that status will switch to ‘OK’ and no notifications will be sent out for the remainder of the day.
